What homebrewers really need to barrel-age beer at home
May 20th, 2021

Barrel-aged beers are arguably the pinnacle of craft beer. They’re deliciously complex in flavor – achieving a wide variety of otherwise unattainable profiles – and all it takes is a little practice and a lot of patience. More and more, we’re seeing homebrewers rise to the challenge of barrel-aging, exploring new creations and testing the endless possibilities of this brewing method.
Yet, we barrel slingers see a lot of contradictory information floating around about what you need to get started barrel-aging. While a $2,000 tool might help you in one way, is it really necessary to make sure your beer is safe from infection? Possibly, according to some sources; but also not, according to others. That’s why I took to the streets (meaning our warehouse, which is attached to the office) to talk to a pro, our in-house brewer, Nick Shiffermiller.
I asked: "So what do you need to start barrel-aging at home?"

You sure?
As much as I bugged Nick to give me more information about all the complex tools you may or may not need to barrel-age a homebrew to absolute perfection – nope. There’s no tool that your typical homebrewing beginner’s kit doesn’t have that you’d need to start barrel-aging at home. Besides a good freaking barrel.
You heard it here first, folks – if you’ve already brewed your first batch of beer, you have everything you need to get started. Congrats.
So the barrel part is what this post is about: What you need to consider when choosing a small format barrel as a homebrewer.
Good Freaking Barrels

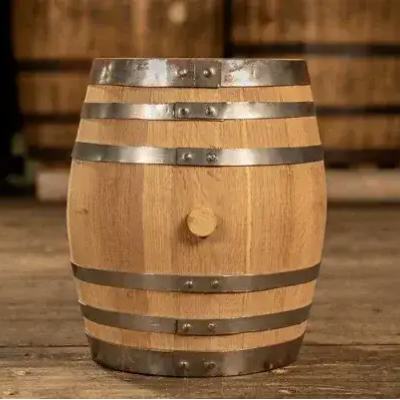
Homebrewers very rarely need the full-size barrels (50-ish gallons) that commercial brewers use to age their beers, so what you’re looking for is a “small format barrel.”
Pro Tip: A lot of head brewers at commercial breweries buy small format barrels to experiment their aged recipes in! They’re a hot commodity.
A small format barrel is anything that can contain between a few liters to 30 gallons. For the purpose of homebrewing, we recommend the 5-15 gallon range.
That Flavor Though
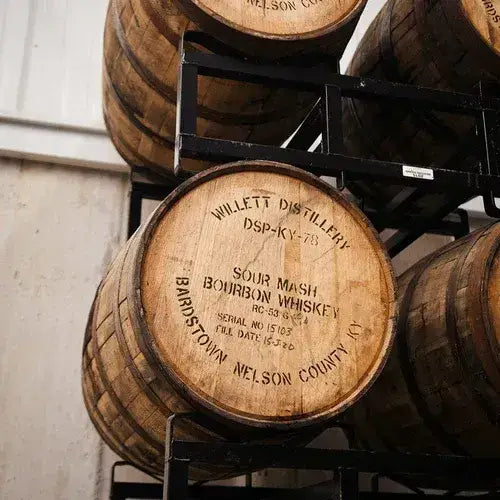
So everything said, once-used barrels are the bees knees! In a whiskey or bourbon barrel, you can infuse a plethora of delectable notes from the more oaky flavors to a deeper vanilla and caramel tone, depending on how long you age your beer. High-gravity beers are perfect for this type of project, and my personal favorite is the ever popular stout and the up-and-coming ale! You’ll want to use a recipe with at least an 8% ABV, unless you’re working with a sour recipe – the barrel-aging process naturally sours lower ABV beers, so may as well commit ahead of time.
For more information about using a spirited-barrel for aging a beer – here’s a link to our free guide that breaks all the details down for you! It also goes over how to swell and check for leaks before you fill your barrel.
Last but Not Least

Our final thoughts and tips about how to get started barrel-aging as a homebrewer:
Use Separate Tools
When you work with different types of beer, such as sours and also high-gravity beer, there is a risk of cross-contaminating your equipment and infecting your beers. It’s worth investing in separate tools, like different auto-siphons and barrels. However, it is okay to keep your barrels in the same room, so long as they’re separated and you make sure their areas stay clean of any spills or leaks.
Sample with a Vinnie Nail
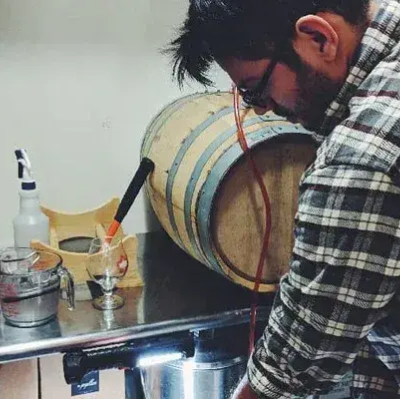
To prevent exposure to air, take samples of your barrel-aged beer through a drilled hole plugged with a vinnie nail.
Consistently Cool Storage
Our brewers recommend a temperature of 68-70 degrees F for storing your aging beer. If you don’t have a controlled environment, then a beneath-ground basement that doesn’t get warm during hot weather should do the trick. You want to keep the temperature relatively consistent throughout the duration of the aging process, only ever letting it fluctuate a couple of degrees.
Oh, one more thing
At the end of the day, the only thing you really need to start barrel-aging your brews is the courage to start something new. You just have to jump in. Nick’s words, not mine. There will always be a chance that something could go wrong and you lose months’ worth of time, but hey – nothing great ever happened without taking a risk first! Do your research, follow the advice of credible people who have first-hand experience, and have fun in the creative process – that’s why you’re here to brew, right?
Download our free guide to barrel aging at home!
Cheers! 🍻


ABOUT THE AUTHOR:
Ben Loseke
Ph.D., and Founder of Midwest Barrel Co. Barrel expert. Plant doctor. American picker. Only known allergies: spicy food and meetings.


